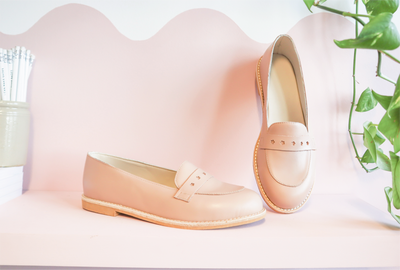
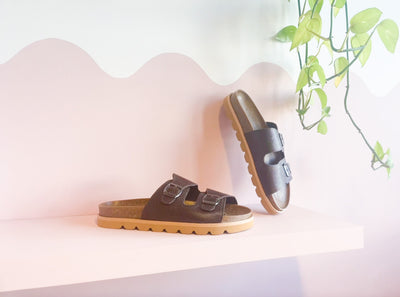
I loved this little project, such a simple design and SO quick to make!
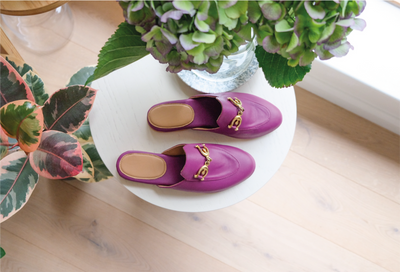
I’ve had this rich purple cow hide leather from GH Leathers for a couple of years and loved this little project.. It was a last minute decision to have them be open slides instead of fully closed at the back loafers, but I am really glad as it just seems to make them a bit less serious somehow..
The insoles were already pretty padded with form but just for fun the little beige pad on the heels have got an extra layer of foam underneath so they are super squishy which I loooove.
I am all about that comfort.. Nothing grinds my gears more than uncomfortable shoes. I was also originally going to add a black sole, but at the last minute I decided that the beige worked really well with the purple so beige soles it was :)
The real drama with these shoes was the hardware.. I knew I had those little metal embellishments somewhere, but I really had to dig around to find them.
I actually found one straight away which got me really excited for this pair of shoes because I was like “YES! These will be perfect!” but after about 30 minutes of sifting through all my jars and shoeboxes full of hardware I started feeling the impending doom of realising that maybe I only had one… anyway a cup of tea later, I found it’s partner in a totally different box full of sparkly things and they were reunited and my plans for the shoes were back on!
Want to make your own pair of DIY loafers? Why not download our loafer slider pattern to help you get started!
Here’s a little run through of how I made the shoes:

Step 1 - Make the patterns. I had to remember to measure the hardware so that they would fit nicely on the front of the shoe.
Step 2 - I then cut and assembled my uppers. The leather was quite thick but I wanted to fold the edges so that the loafer had a nice finish around the edge, so I skived it down after the folded the edge to reduce the bulk on the top line. The hardware was stitched on at this stage too.
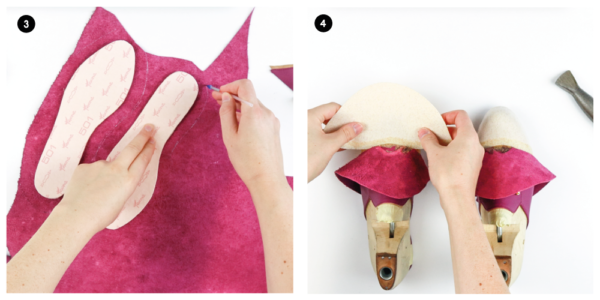
Step 3 - Next, I cut my insole covering to size. Added some foam under the heel pad, then stitch the heel pads in place. Then I cut my actual insoles added a full layer of foam and covered them with the pieces I made with the heel pads. I can't get over how comfy they are!
Step 4 - I lasted the linings, inserted my toe-puffs and lasted the uppers. I love this stage, it’s when they start to feel like real shoes! Finally - I added a cork bottom filler to the base of the shoes to create a nice flat surface for my next step which was to glue on the soles.. Easy Peasy!
Estimated time to make = 4 hours
learn shoemaking for yourself
I created a free 40-minute online course called 'Introduction to Shoemaking' to show how easy home shoemaking can be and to give you a little taste of what I Can Make Shoes is all about. SIGN UP HERE for instant access.

If you are wanting to dive a little deeper into the world of home shoemaking, my online Footwear Masterclass is one of the most popular shoemaking courses in the world!! 🌍 (Casual brag! lol)
The course covers how to make shoes from scratch including heels, flats, boots, sneakers, sandals, and more. The thing that really sets this course apart from others is that it's specifically designed for total beginners and requires very little in the way of tools & equipment, there's even a bonus module on how to start your own shoe brand. To make getting started even easier, the course comes with a FREE Shoemaking Starter Kit, delivered to your door, anywhere in the world! 🌍
We are a tight community and regularly limit our intake to ensure the best experience for our students - so if our enrolment is closed I would recommend you sign up for our FREE Introduction to Shoemaking course while you wait.
Happy Shoemaking, Amanda xx
Pssssssst.... If you want to have a look at the shoes our students have been making, give us a follow on Instagram.