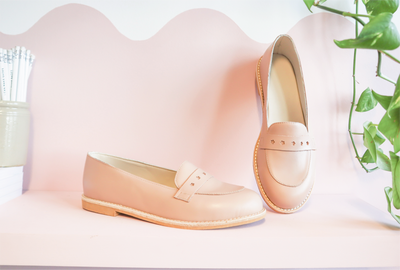
This mule pattern is an easy style, and is suitable for shoemakers of all levels. 😊 Once considered a boudoir shoe in the 17th and 18th centuries, the mule was then popularised in the 1950s by Hollywood pin-ups such as Marilyn Monroe. Today, this style is a cult classic that has stood the test of time.
This particular design sits high up on the foot with a curvy centre seam, allowing for great support and a flattering shape. 👡

Download mid heel mule shoemaking pattern
To help you get started, we've made a downloadable mid-heel mule pattern in sizes EU 34 - 44 (that's UK 1 - 11).
In an effort to make shoemaking a more accessible craft, we've made this downloadable shoe pattern easily printable from home, and have included a step-by-step closing sequence to help you along the shoemaking and home sewing process.
The PDF shoe pattern is available for instant download and prints on sheets of A4 or Letter size paper. All you have to do is print at 100%, cut out the patterns, and tape together any that have been broken up to fit on an A4 page.
What you'll need:
- Upper and lining materials of your choice.
- Matching polyester thread.
- Scissors.
- A domestic flatbed sewing machine, with a denim or leather needle.
Water-based glue and a safety beveler, which you can find in our Beginners Shoemaking Tool Kit.
Step by Step process:
-
Trace and cut out the linings and uppers in your chosen material using the same pattern. *Remember to flip the pattern pieces to get left and right feet.*
-
Stitch together the centre seams, 5mm in from the edge. Open the seams with a little glue and skive away excess bulk. *These seams are closed seams, so stitch right sides together.*
-
Glue and fold over the 5mm allowance on the toplines of your uppers.
-
Apply a little glue along the wrong sides of your upper and lining toplines. Using your centre seam as a reference, match together the uppers with the linings and stick the toplines together. *The 5mm trimming allowance on your linings will sit 5mm above the topline of your uppers.*
- Trim off the trimming allowance, leaving some at the centre seam to help with the lasting process.
You're now ready to last your uppers! 🎉
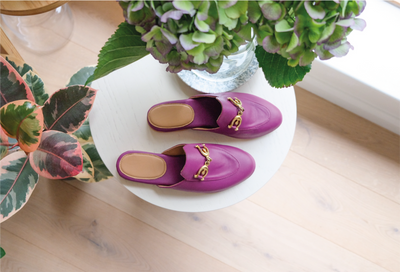
To give you some inspo, why not check out this 'get inspired' project where we made these floral wedges using the mule pattern! 🌸

If you make a pair of handmade mules of your own, we'd love to see! Send us your pics via Instagram: @icanmake_shoes. I can't wait to see the amazing shoes you make! 💖
learn shoemaking for yourself
If you are wanting to dive a little deeper into the world of home shoemaking, my Online Footwear Masterclass is one of the most popular shoemaking courses in the world!! 🌍 (Casual brag! lol)

The course covers how to make shoes from scratch including heels, flats, boots, sneakers, sandals, and more. The thing that really sets this course apart from others is that it's specifically designed for total beginners and requires very little in the way of tools & equipment, there's even a bonus module on how to start your own shoe brand.
To make getting started even easier, the course comes with a FREE Shoemaking Starter Kit, delivered to your door, anywhere in the world! 🌍
Happy Shoemaking,
Amanda xx